
Whether you’re new to server administration or a seasoned sysadmin, Webmin is one of the most widely used web-based interfaces for server management. This tool offers a powerful way to handle a variety of tasks on a remote server, all from a single web interface. This article will guide you through the basics of getting started with Webmin for server management, including installation, configuration, and how to make the most of its capabilities.
A. What is Webmin?
Webmin is a web-based control panel for managing Unix-like systems, including Linux servers. Unlike other complex or command-line interfaces, Webmin allows you to perform administrative tasks via a web browser, providing a graphical interface for system configuration. This makes server management more accessible, especially for those without extensive command-line experience. Webmin is open-source, meaning it’s free to use, and it supports a broad range of server services like DNS, Apache, MySQL, and much more.
Key Features of Webmin
Graphical Interface: Webmin provides an intuitive web interface for managing system settings, services, and more.
Modular Design: Webmin offers numerous modules that can be added based on your needs. These modules can help manage everything from user accounts to firewall settings.
User Management: Webmin allows you to create, modify, and delete user accounts, as well as manage groups and permissions.
Configuration Management: You can configure system settings, network settings, firewall rules, and more through the Webmin interface.
B. Why Choose Webmin?
There are several reasons why Webmin is a great choice for server management:
A. Ease of Use: For beginners or sysadmins who prefer graphical interfaces over command-line operations, Webmin provides a simple way to manage various server functions.
B. Centralized Management: Instead of logging into your server and using multiple tools or commands for configuration, Webmin consolidates everything into a single dashboard, simplifying tasks.
C. Free and Open-Source: Webmin is completely free, and its source code is open for modification, making it ideal for those who prefer customizable solutions.
D. Wide Support: Webmin supports most Linux distributions, including Debian, Ubuntu, CentOS, and RedHat. It also offers various modules to extend functionality for other applications.
C. Installing Webmin on a Linux Server
Getting started with Webmin involves installing it on your Linux server. Here’s a step-by-step guide on how to install Webmin on an Ubuntu-based server.
1. Update Your Server
Before installing any new software, ensure your server is up to date. Open your terminal and run the following commands:
2. Install Dependencies
Webmin requires some additional dependencies that need to be installed. Run the following command:
3. Add the Webmin Repository
To install Webmin, you need to add the Webmin repository to your server’s source list:
Add the following line to the file and save it:
Then, add the Webmin GPG key to ensure the authenticity of the repository:
4. Install Webmin
After adding the repository and GPG key, you can install Webmin by running the following commands:
Webmin will now be installed on your server.
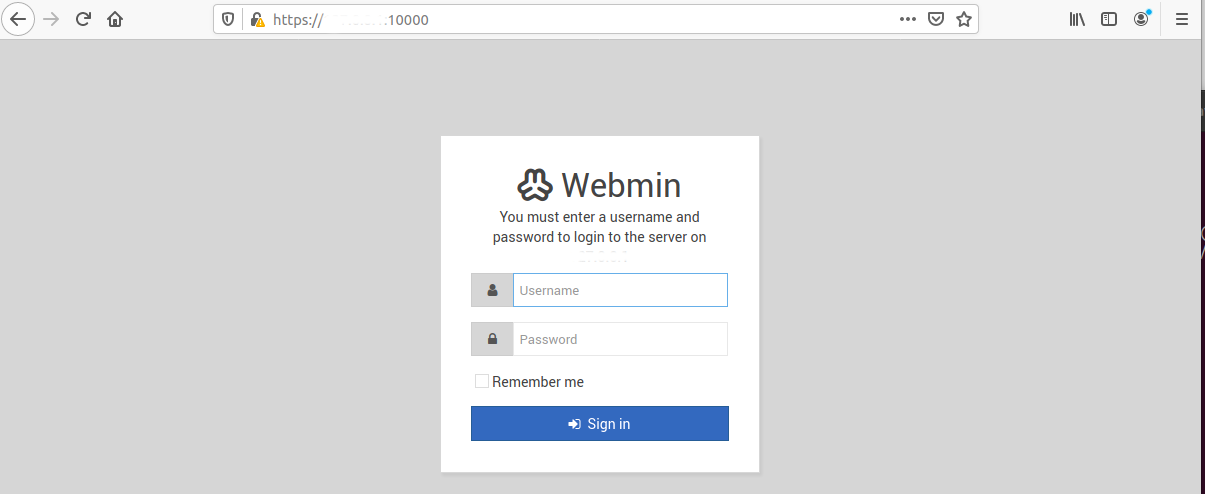
D. Accessing Webmin
Once installed, you can access Webmin from a web browser. By default, Webmin runs on port 10000. Open your browser and type the following URL:
For example:
You will be prompted to log in using your root credentials. Once logged in, you will have access to the Webmin dashboard, where you can start managing your server.
E. Navigating the Webmin Interface
After logging in, you’ll find the Webmin dashboard, which displays an organized overview of your server’s settings and services. Here are some key areas of the Webmin interface:
1. System Information
At the top of the dashboard, you’ll see basic system information such as:
Server uptime
CPU usage
Memory usage
Disk space
This section helps you keep track of your server’s health at a glance.
2. User Administration
Webmin’s user administration module allows you to manage user accounts and groups on your server. You can create new users, modify existing ones, or delete accounts. This feature is essential for managing who has access to your server and what permissions they have.
3. Service Management
Webmin provides modules for managing various services on your server, including Apache, MySQL, and DNS. Each service can be configured through a dedicated module, allowing you to adjust settings, start or stop services, and view logs directly from the Webmin interface.
4. Server Configuration
Under the “Webmin” tab, you’ll find options for configuring the Webmin server itself. You can change the Webmin port, set up SSL encryption, and configure various security settings.
F. Managing Common Services with Webmin
Webmin makes it easy to manage the most common server services. Here’s a brief overview of how to manage some popular services with Webmin:
1. Apache Web Server
To manage Apache, go to the “Servers” section on the left panel and click on “Apache Webserver.” You can configure settings like virtual hosts, security settings, and modules from this module. You can also restart Apache and view logs.
2. MySQL Database Management
Managing MySQL databases is simple with Webmin. Under the “Servers” section, select “MySQL Database Server.” From there, you can create new databases, manage users, or run SQL queries. Webmin provides a user-friendly interface for common MySQL tasks.
3. DNS Management
Webmin allows you to manage DNS settings for your server. You can configure DNS zones, add records, and set up reverse DNS. It also supports BIND (Berkeley Internet Name Domain), which is widely used for DNS management.
G. Securing Your Webmin Installation
While Webmin provides a powerful interface for server management, security is paramount. Here are some basic security measures you can implement:
A. Use HTTPS: Ensure that Webmin is running over HTTPS. This encrypts your web traffic, preventing attackers from intercepting sensitive data.
B. Change the Default Port: Webmin runs on port 10000 by default. It’s a good idea to change this port to something less common to reduce the risk of automated attacks.
C. Limit IP Access: Use a firewall to restrict access to Webmin’s port. Allow only trusted IP addresses to access the Webmin interface.
D. Two-Factor Authentication (2FA): Consider setting up two-factor authentication for an added layer of security when logging into Webmin.
H. Webmin Modules and Customization
Webmin has a modular design, meaning you can add new functionality by installing modules. There are hundreds of modules available for everything from firewalls to email servers. You can browse and install modules by clicking on “Webmin” in the left sidebar, then selecting “Webmin Configuration” and choosing “Webmin Modules.”
I. Troubleshooting Webmin
If you encounter issues with Webmin, here are some troubleshooting steps:
A. Check Logs: The Webmin logs are a great starting point. You can find them in the “Webmin” section under “System Logs.”
B. Restart Webmin: If Webmin isn’t responding, try restarting the service by running the following command:
C. Check Firewall Settings: Ensure that your firewall isn’t blocking Webmin’s port.
Conclusion
Webmin is a powerful, flexible tool for managing your Linux server. Whether you’re an experienced system administrator or a beginner, Webmin’s graphical interface simplifies server management tasks. From installing Webmin to securing it and managing services, this guide should have provided you with the knowledge to get started and make the most of this powerful tool. By leveraging Webmin’s features, you can streamline your server management tasks and ensure your Linux server runs smoothly.